Why I changed to no-dig
I’ve had my allotment for more than 15 years. For the first 13 of those years, I used to dig it over every winter. It was a wet, claggy affair – the soil here is heavy London clay. I invariably ended up with large, heavy clods.
Over winter, a cap would form over the top of the soil as heavy rain washed tiny small clay particles off the big clods. But the big clods would remain underneath and as they dried out they’d become solid as a rock. The large gaps between clods provided great crevices for slugs to hide out in.
I worked around this by digging again before planting, including adding in compost to try and break up the clay a bit. I worked in vain to try and create the tilth my gardening books described. I’d often find myself battering the soil with the back of a spade or fork, to try and break it up in the spring.
I did this because it was the received wisdom that digging is a vital part of gardening (it still is). All the gardening books and programmes tell you to do it, and everyone on surrounding allotment plots seemed to be at it. I had no idea of the damage I was doing or that there was a different way of doing things.
Two years ago, we built 12 raised beds, dug them one final time to remove perennial weed roots and level out the soil, and then stopped digging. Instead, I add a layer of organic matter (home-made compost or well-rotted manure, or leafmould when it’s available) each year, leaving it for the worms and other critters to work in over time.
The mulch feeds soil life, builds a healthy soil structure, conserves moisture in the soil, keeps the soil temperature stable and protects the soil surface from the elements. You also get a lot less trouble from annual weeds – when you dig, you bring annual seeds to the surface and you provoke them into germinating. No-dig avoids this and keeps the soil much cleaner and easier to work with. When weeds do appear, they’re much easier to pull out of friable no-dig soil.
It was a leap of faith and felt very counter-intuitive to stop digging, and I’ve missed working up a sweat digging the plot on cold sunny winter days. But now that we’re a couple of years in, I would never go back.
Two pictures I took today that show how and why no-dig works
It’s been raining quite heavily over the last few days. I noticed today that soil on neighbouring plots that have been dug and then left unprotected over the winter, the soil has started to form a cap – a matted layer of small particles of soil that, once dry, will form an impenetrable barrier to air and water.

This is what my soil used to be like, over the many years I used to dig it each winter. Having dug it in winter, I then had to dig it over again before planting in the spring to break up the big clods of clay. Before long it would form a cap, like this, or instead stay in large, rock hard clods (or some combination of these 2). It seemed like no matter how much organic matter I added, the soil was unrelentingly rubbish. I thought that was just how clay soil worked, and learned to live with it.
I’ve now learned that soil treated like this isn’t ever going to be a very healthy environment for plants to grow and thrive. Essential soil life and structure is damaged or destroyed and air, water and nutrients aren’t able to circulate in a healthy way to feed soil life and, in turn, plants.
The soil in our no-dig beds looks completely different. Where it’s not covered with mulch (which most of it is, to feed and protect it), the surface has formed a lovely crumbly tilth that has remained in place throughout the winter.
The next picture is a no-dig raised bed where I added a thick mulch of well rotted manure when I planted out my brassicas last spring. All of that has now been fully incorporated by worms and other soil life. The soil between the brassica plants is lovely, crumbly and absolutely covered in worm casts – a really good sign of healthy soil.
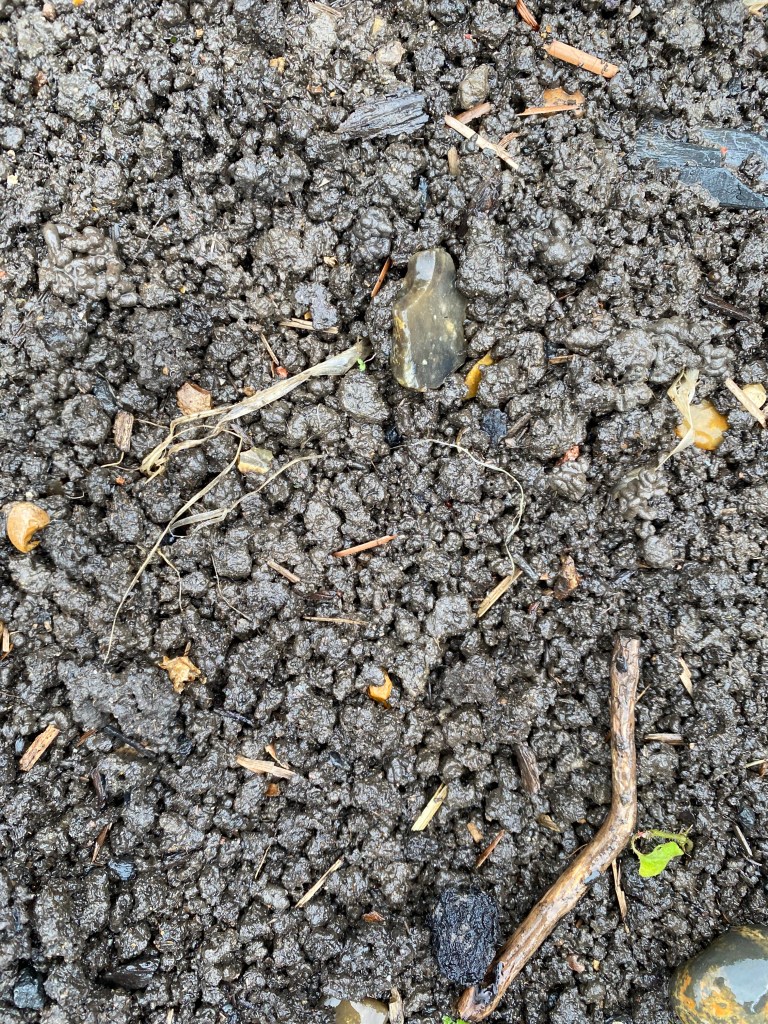
Healthy soil like this stays aggregated in little breadcrumb-sized lumps, rather than forming a cap, so it remains penetrable to air and water and hospitable to soil life even after heavy rain or very dry weather. That, along with health and abundant soil life, means the soil is much better able to absorb and hold moisture and nutrients, and they are in turn much more readily and usefully available to plants. It’s much easier to pull out weeds and their roots when they appear, and it’s much easier to plant and grow seedlings.
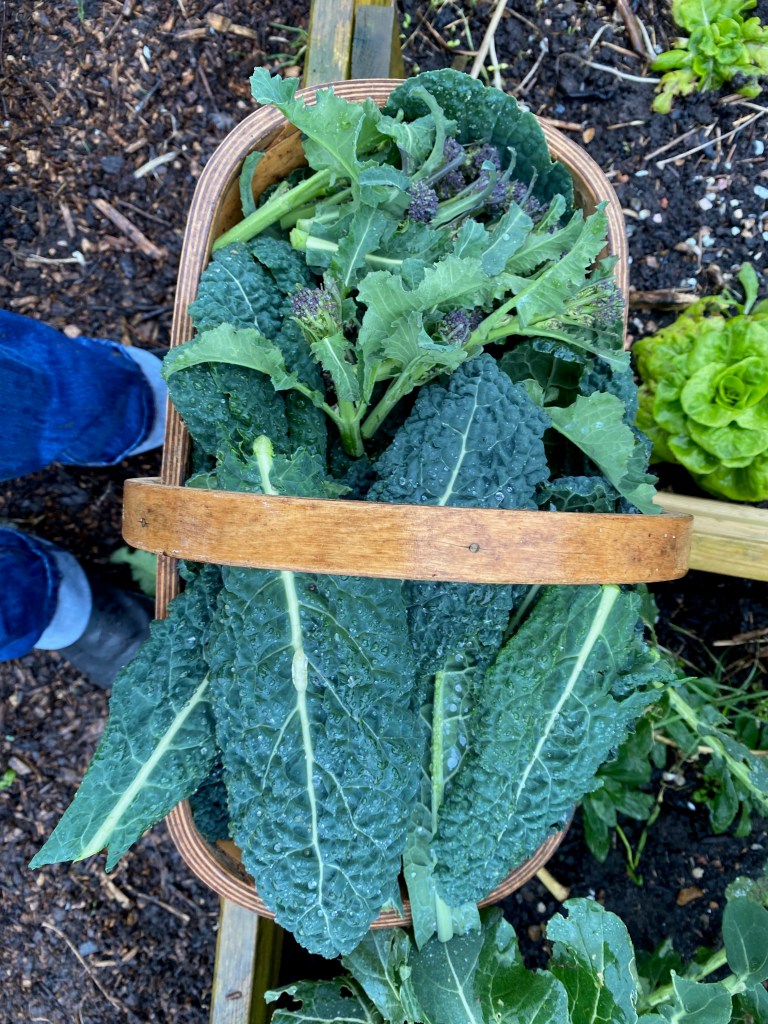
This bed will have a new layer of compost or manure mulch added soon, once I’ve taken out the remaining over-wintered brassicas (leaving the roots in the soil, undisturbed – all valuable organic matter and structure) and ahead of spring sowing and planting. A couple of inches of mulch each year is plenty to keep the soil healthy and feed the billions of organisms living in each teaspoon full.
When I first heard about no-dig, I thought it was a fringe / weird activity. I wish I’d learned more much earlier on in my allotmenting adventure. Here are some of the best things I’ve read that helped me understand soil biology, the value of a no-dig approach, and how to go about it:
- Dirt to Soil by Gabe Brown
- Organic Gardening the Natural No-Dig Way by Charles Dowding
- For the Love of Soil by Nicole Masters
- Charles Dowding’s blog and youtube channel
This will be my 3rd year growing in my raised no-dig beds. Looking at the soil today, it feels like the beds are really starting to come into their own now, having had a couple of years to settle down and plenty of mulch added each year. I can’t wait for the season to get properly going this year and to see what we can produce 🙂
